Last Updated: 5th Nov 2024
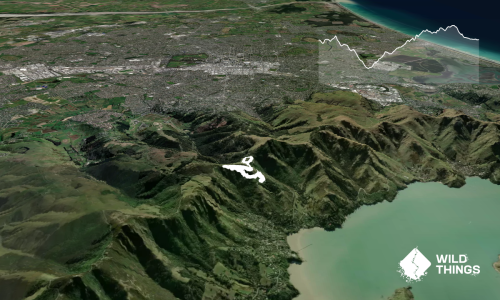
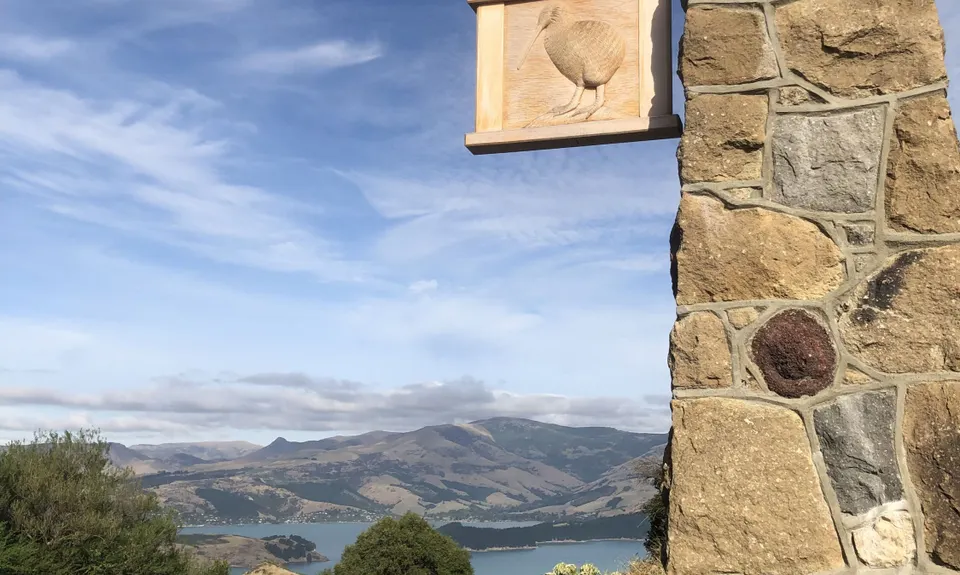
Bird to Bird
Last Updated: 5th Nov 2024
Open
Grunt Factor: 17 ?
Gnarl Factor: 51 ?
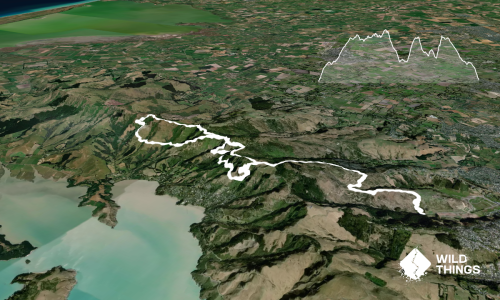
9.8km
395m
395m
483m
.jpg)


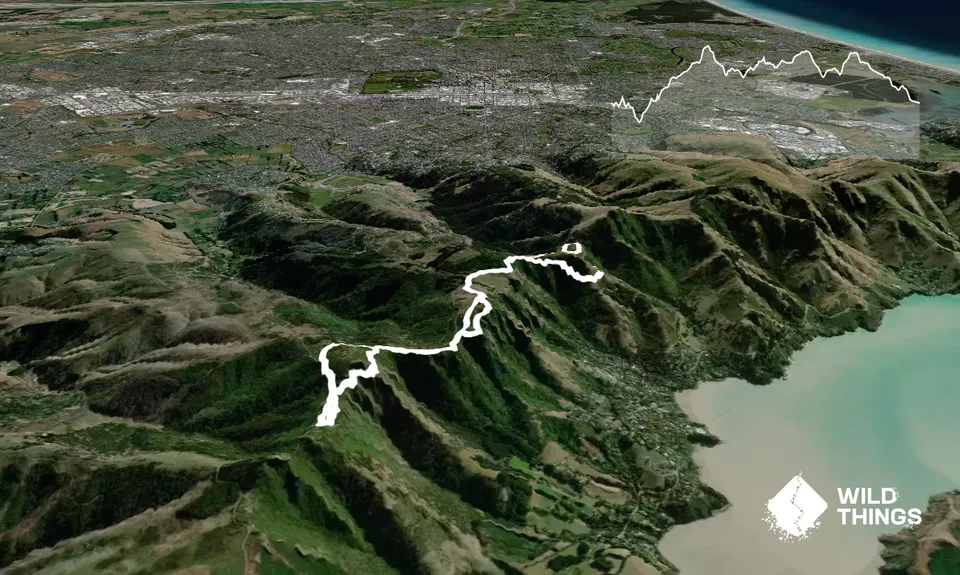
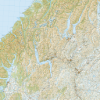
Trail Map
This Topo layer only covers NSW/ACT.
Switch to another map layer when viewing outside this area.
Switch to another map layer when viewing outside this area.